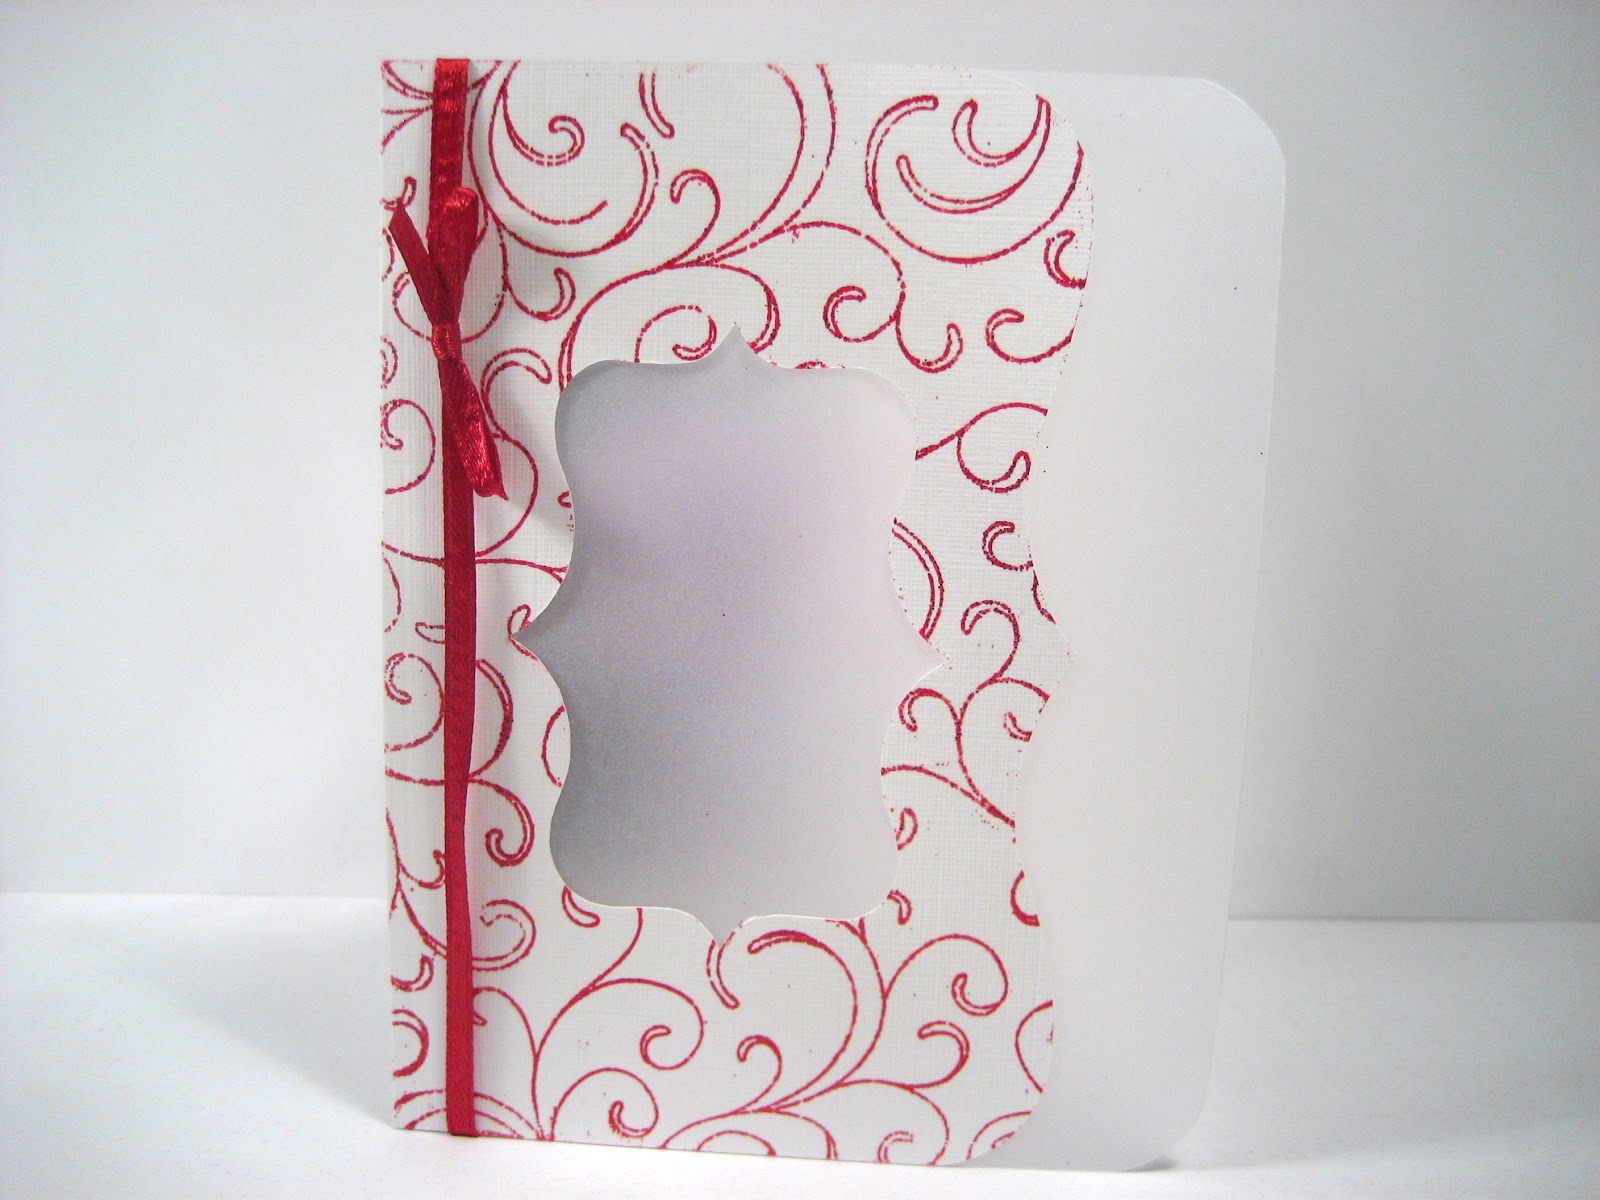
Sunday, 23 January 2011

Black and White

Hello all.

Today's card is one that is a little different to my usual style. For one thing, it is one-dimentional!!! And another is that there are no pretty colours!

But I still think it turned out okay:


This card features the 'Starburst Lace' stamp from Hero Arts - this one was a tricky stamp to find!!! But find it I did, and I'm glad; it's so pretty!!!

Here's a close-up of the stamp:


I used StazeOn ink to stamp the image onto black cardstock. Then I stamped the sentiment in Versamark ink and embossed it in white.
I added some accents using Liquid Pearls in pewter (by Ranger), and there was the card, all done - it took about 10 minutes to do; easy peasy!

Hope you liked it :)

I'd like to enter this card into the following challenges:

1. Wee Memories: Challenge #40

Friday, 21 January 2011

A card inspired by a card, inspired by a card

Hi all,

Today's card was indeed, as the title suggests, inspired by another card.

I regularly follow Jill Foster's site, 'Stamping Inspired By...'.
Jill is an INCREDIBLY talented crafter, and I love her work. You can view her site here.

I was inspired by this post (Jill's card is the second one down).
Here is my take on this card:


A closer look at those pretty flowers:


And one of the sentiment:


The flower image (can anyone tell me what kind of flower this is please; I'm pretty dense when it comes to flowers!) is from the Lotus stamp set by Amy Butler, from K&Co.
When I first got it (a whole year and a bit ago), I had no idea how I was going to use that stamp, so I'm glad I've found a use for it now!

The images were coloured using watercolour pencils, but no water - they have softer leads and so are great for blending.
I cut the squares and rounded the corners, and then inked everything up using Vintage Photo Distress Ink.

This one didn't take long to make either, and was so much fun! I know I'll be making some more of these to put in my shop.

Okay well, thanks for dropping by! :)

Wednesday, 19 January 2011

Pretty Poppies

Hello again,

My aunty and me have a little agreement: she will buy me a stamp, and then I have to make her a couple of cards using it.
As you can imagine, I love this arrangement :) But not as much as I love how her face lights up each time she sees a card made especially for her!

This next card was made for her, using the Hero Arts Delicate Blossoms stamp, which she picked.
I know she likes simple cards, so I took my inspiration from this bottle of perfume, which I have always thought was gorgeous:


(This is Flower by Kenzo, by the way)

Anyway, this is the card born from that image:


Creating this card was an absolute joy! First of all, I inked the poppies in Barn Door distress ink. Then I cut them out, and created shadows using Aged Mahogany. Next, I stamped the image onto white cardstock, coloured the stems with a Copic marker, and adhered the flower heads.
Cut the completed image out in a strip, distress lightly using more Aged Mahogany, stamp the sentiment on your base, and adhere the final panel.
Simple!

I added some white ribbon to give the illusion of a bouquet (my aunty likes bouquets), and it gives a nice, crisp but elegant finish.

I really like this one!

Look out for another card coming up later in the week which also uses the Delicate Blossoms stamp, but based on a different source of inspiration, giving it a much more vintage look.

Thanks for looking! :)

Tuesday, 18 January 2011

One I made earlier

Hi everyone,

I just wanted to share a card with you that I made a couple of months ago.
A couple of my friends were going up to see (his) parents, for their anniversary. So I made a card for the occasion.

Again, I have to admit that this totally wasn't an original of mine... it was inspired by this card, by Britta Swiderski (you can see her post about this card here):


Britta is a hugely talented crafter, and if you haven't checked out her site, it's at: www.brittaswiderski.com. She also makes fun and helpful video tutorials on making cards, along with new techniques, tips and tricks.

I thought this idea would work well as an anniversary card too - flowers that represent people - so I came up with this:


And a close-up of the sentiment:


I cut the flowers and circles using my Silhouette machine, and printed the sentiment out on the computer, as I didn't have a sentiment stamp that was quite right in my stash!

The paper is from Dovecraft's Eastern Promise collection, and the white cardstock is linen cardstock by the Papermill.

Thanks for looking! :)

Monday, 17 January 2011

You're my TYPE of friend

Hi all,

As promised, I've been playing with my brand new 2011 Hero Arts stamps! I love the new releases, and got a few of the fun, quirky sets, as well as the more floral ones.
Plus, Hero Arts are hosting a challenge here to launch the new 2011 catalogue! So I've entered this one :)

My card for today features the 'My Type' (CL483) stamp set. I made a couple of cards with this set, both based on the same sort of sketch, but mixed it up with different sentiments.

I used a card sketch by Lucy Abrams (whose site you can see here). Lucy had a 'sketch week' at the start of the month, and at the end of it she very kindly gave her readers a free downloadable copy of her 7 sketches.

The sketch I used was this one for day 4:


I used it to create this card:


And a close-up of the sentiment:


The white cardstock was stamped using the 'Friend definition' Hero Arts stamp, and then lightly distressed using Antique Linen Distress Ink. The strip of Kraft cardstock was distressed using Vintage Photo, and then I stamped the typewriter in Memento black ink.
I cut a little slit in the kraft cardstock, stamped the sentiment on a seperate piece, slid it in and stuck it down, et voila!
With the sentiment, I distressed the top of it using the edge of my scissors to give it a vintage look, and stuck a 3D foam square behind it to raise it a little to make it look more 'real'.

Here is one I made using a different sentiment stamp:


Okay, well, hope you enjoyed this one!

Until next time :)


 I would like to enter this card into the following challenges:


1. Lucy's Cards: Sketch 4
2. Kelly Jo's Stamp Pad: Challenge #69
3. My Stamp Box: Monochromatic
4. Cute Card Thursday: Monochrome
5. Freshly Brewed Designs: B&W + 1 other colour
6. Challenge Up Your Life: Challenge #35 

Sunday, 16 January 2011

The one you've all been waiting for... (drumroll, please!)

Hi everyone,

Okay, well I can finally reveal what I've been working on these last few months: the much-spoken about wedding invitations!!!
I handed them over late this week, and they're being distributed (possibly) as we speak!

Here is the overall effect:


The card is made up of the following elements:


Front
Close-up of the embossed detail


Inside - An inner pocket to hold the details-tag


A (very poor) image of the tag with the info blurred out (I'll see if I can post a better one soon)


A close-up of the sentiment, which can be seen through the vellum panel on the front of the card


The envelope


And a picture of the complete invitation


Phew! So there it is. What do you think?

That's it for today - I've got the dreaded cold that's been going round, so I'll be resting up a bit this week!
I may have some extra time for crafting, though...

Until next time :)

Thursday, 6 January 2011

Butterflies again!

Hi everyone,

Thanks for being patient with me while I had a busy December, making - and FINISHING!!! - the wedding invitations!

I'll post a picture of the finished product once they've been sent out by the bride and groom, but after the hours of blood, sweat and (real) tears, they look pretty great :)

Another reason I haven't been able to post is that I've been busy updating my site. You may have noticed that my site address is now: www.natashablackburn.com, and I've added a few new features to the site including a 'contact me' page.
I will also soon be linking my Etsy shop to the site, so that anyone interested in purchasing my cards will be able to do so.

Okay! So my card for this week features more butterflies; I just love them! Here it is below:


A close-up of the sentiment:


And one of the cutie flutterbies:

(You may notice these butterflies are slightly different to the ones on the original card - I made a few to sell, and didn't realise I'd punched some of them with the writing upside-down! But I wanted to show you all that I could use sentiments other than 'thank you' and 'thinking of you', so I posted this one!)

Pretty easy one to make - I just stamped the Hero Arts 'Friend Definition' stamp on some linen cardstock, and punched the butterflies using the Martha Stewart 'Royal Butterfly' punch. Then I cut some kraft cardstock, distressed the edges with Vintage Photo distress ink, and adhered the butterflies using glue-dots. I used 2mm 3D squares to stick that part down, and finally distressed the main card with Antique Linen distress ink.

Oh, and do you like my new way of photographing cards? I took a leaf out of Kristina Werner's book - or rather, a suggestion from her site - here.

Well, that's enough from me - I've just got some of the new Hero Arts 2011 stamps, so I'm looking forward to playing with them!

Enjoy! :)