Monday, 31 January 2011

Just sitting here

Hi all,

Here's one of the sets of stamps I bought, and my aunt just LOVED the card:


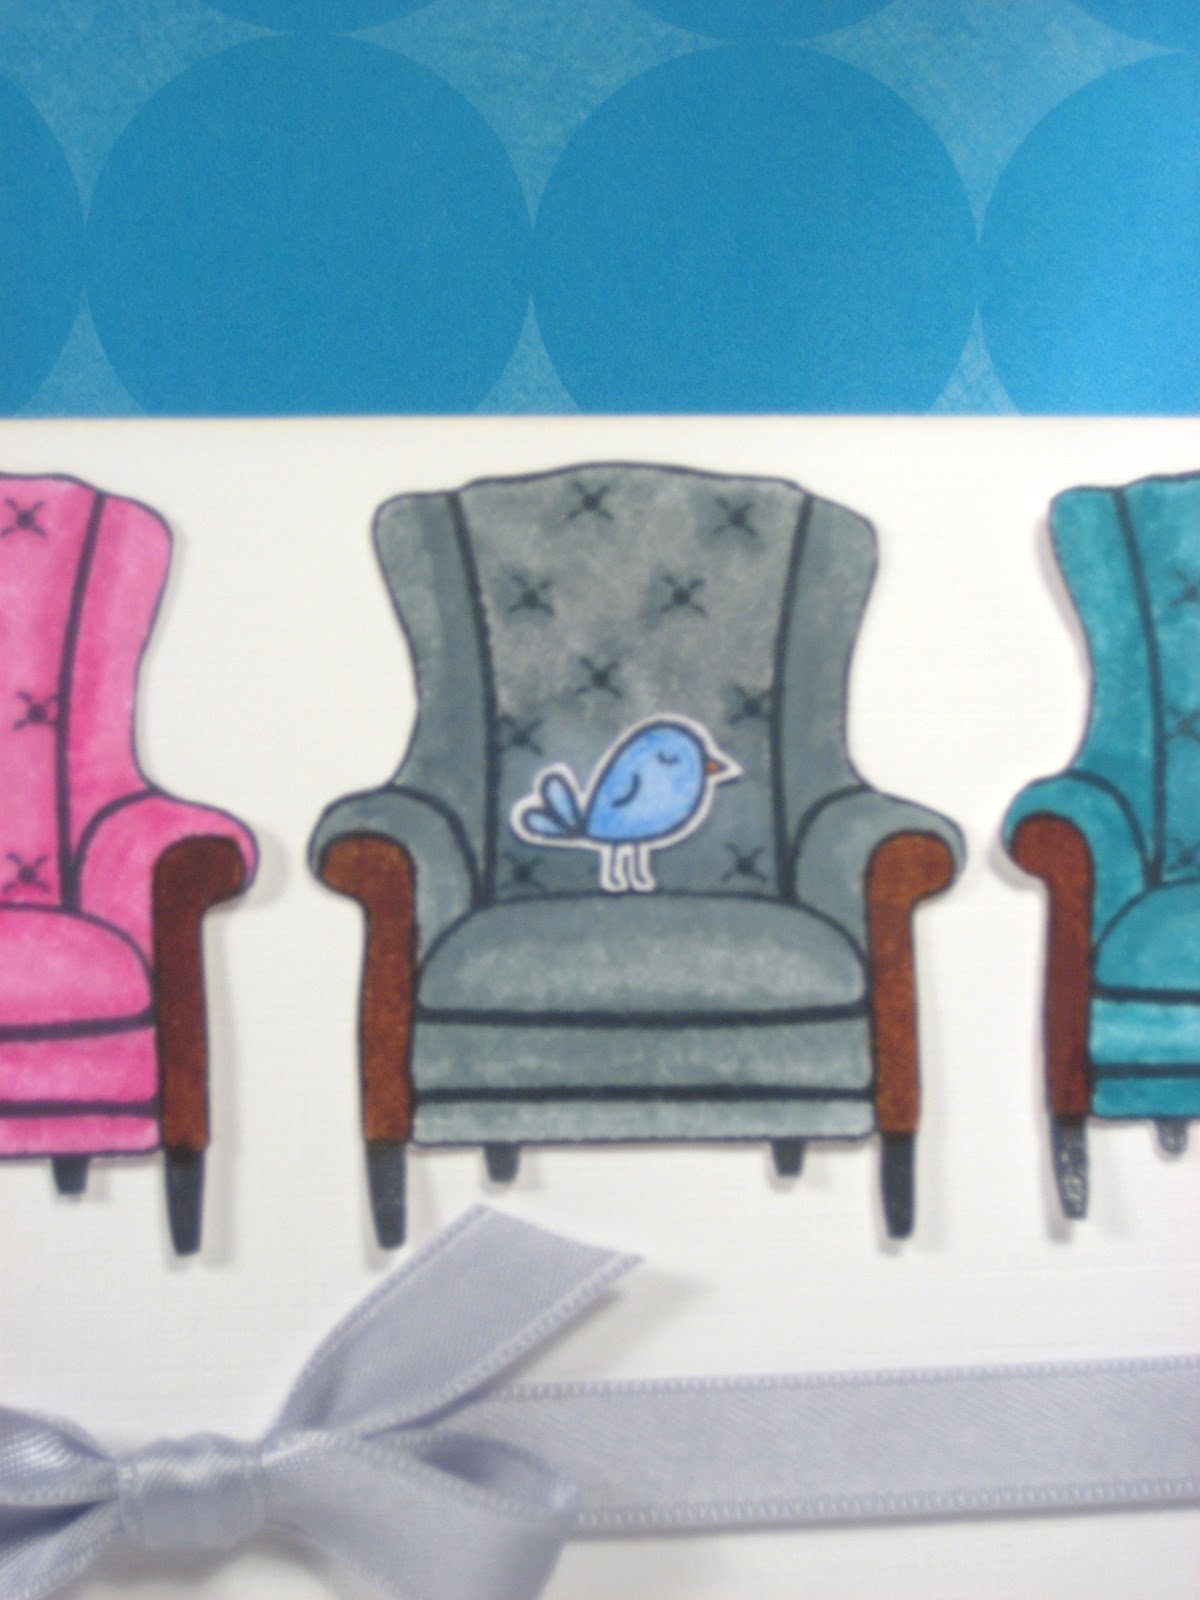
And a close-up of the little birdie:


I was just testing out my watercolouring skills with regular ink and water, using these chairs.

Simple card - just stamped the sentiment, stuck the images down, tied the ribbon and perched that little birdie on one of the chairs.

My aunty isn't so well since her stroke a little while back, and so she has to sit a lot; she loved the sentiment combined with the chair :)

I think my watercolouring skills require some extra work, so I'll post a card of the same chairs inked up with distress inks to show the marked difference!

Thanks for stopping to have a look :)

Tasha

Saturday, 29 January 2011

Another brand new Hero Arts stamp

Hey guys,

Here's a card, or a set of them, that I made using the Hero Arts 'Classic Fabric Design' stamp.
It's not a very original one - I haven't copied it, I promise!!! - but I've seen similar ones online. It's a pretty standard sketch, I guess.

Oh, and then I read that there is a similar set in the Hero Arts catalogue, so...

Here's the card, anyway:


A close-up of the sentiment:


And one of the set:


This set was fun to make - maximum effect with minimum time and effort. I've actually had these colours of cardstock for over a year, and haven't found a way to use most of them... until now!

Each of the cards were made stamping darker inks of the same colour on each piece of coloured cardstock (except for the teal card, which was made using StazeOn).

I mounted the coloured pieces on the white card base. Then I stamped the sentiment using the same coloured ink on white cardstock, cut it out and adhered it using 3D squares. The finishing touch was 3 dots of 'Stickles' (by Ranger), et voila! A set of 3 cards, easy peasy!

Again, this is another stamp I just LOVE. It's so classic yet eye-catching, and has me wishing I could get curtains and cushions to match :)

Anyway, thanks for looking and until next time!

Tasha :)

Thursday, 27 January 2011

The Masculine Commission

Hi all.

So, a friend made my husband some cufflinks (very nice and unique ones, made of wood!) and Bob commissioned a masculine thank-you card to give him.

I did 'um' and 'ah' a little, but this is what I came up with:


And a close-up of the sentiment and that gorgeous blend of colours:


Isn't it pretty? (Not sure if 'pretty' is the look to go for on a boy's card, but oh well...) I just love how the colours all fade into each other to give a beautiful effect. (I actually learned this technique from Jill Foster - you can view the post from her site, Stamping Inspired By..., here.)

I distressed the background first, using Antique Linen distress ink. Then I inked up my Hero Arts Starburst Lace stamp with Chipped Saphire, Broken China and Vintage Photo distress inks, spritzed with water using my Rangers mini-mister, and stamped onto the distressed paper.
I repeated this process, layering the colours in different orders for the other two images, before distressing the outer edge in vintage photo.

The sentiment was simply stamped on white cardstock, cut out, coners rounded, and adhered to the front with 3D foam squares.

There's just something about this stamp and technique that makes me want to stare at this one forever; do you know what I mean?! Looking forward to using it lots more, so: be warned! :)

Well, that's it from me for today. Thanks for stopping by the site; hope you'll come back soon!

Tasha

Tuesday, 25 January 2011

More Poppies As Promised

Hi again,

As promised, here is another card featuring those lovely poppies.

My source of inspiration this time was this picture:

(I think it's a product on Etsy; I found it on Google and it was a little unclear!)

I just loved the look of this picture; it has a very french look about it! This is my take on it:


And a close-up of the sentiment:


I made this card in the same way as the one here.
I distressed the edges in Antique Linen Distress Ink, mounted the two portions onto black card and added some gemstones to tie it all together.

Ugh, the weather has been miserable today; a very cold and rainy day in London town! Let's hope it brightens up tomorrow, but for now I'm going to snuggle up in my chair and watch a good old episode of Inspector Morse :)

So that's all from me today!

Thanks for stopping by :)

Sunday, 23 January 2011

Black and White

Hello all.

Today's card is one that is a little different to my usual style. For one thing, it is one-dimentional!!! And another is that there are no pretty colours!

But I still think it turned out okay:


This card features the 'Starburst Lace' stamp from Hero Arts - this one was a tricky stamp to find!!! But find it I did, and I'm glad; it's so pretty!!!

Here's a close-up of the stamp:


I used StazeOn ink to stamp the image onto black cardstock. Then I stamped the sentiment in Versamark ink and embossed it in white.
I added some accents using Liquid Pearls in pewter (by Ranger), and there was the card, all done - it took about 10 minutes to do; easy peasy!

Hope you liked it :)

I'd like to enter this card into the following challenges:

1. Wee Memories: Challenge #40

Friday, 21 January 2011

A card inspired by a card, inspired by a card

Hi all,

Today's card was indeed, as the title suggests, inspired by another card.

I regularly follow Jill Foster's site, 'Stamping Inspired By...'.
Jill is an INCREDIBLY talented crafter, and I love her work. You can view her site here.

I was inspired by this post (Jill's card is the second one down).
Here is my take on this card:


A closer look at those pretty flowers:


And one of the sentiment:


The flower image (can anyone tell me what kind of flower this is please; I'm pretty dense when it comes to flowers!) is from the Lotus stamp set by Amy Butler, from K&Co.
When I first got it (a whole year and a bit ago), I had no idea how I was going to use that stamp, so I'm glad I've found a use for it now!

The images were coloured using watercolour pencils, but no water - they have softer leads and so are great for blending.
I cut the squares and rounded the corners, and then inked everything up using Vintage Photo Distress Ink.

This one didn't take long to make either, and was so much fun! I know I'll be making some more of these to put in my shop.

Okay well, thanks for dropping by! :)

Wednesday, 19 January 2011

Pretty Poppies

Hello again,

My aunty and me have a little agreement: she will buy me a stamp, and then I have to make her a couple of cards using it.
As you can imagine, I love this arrangement :) But not as much as I love how her face lights up each time she sees a card made especially for her!

This next card was made for her, using the Hero Arts Delicate Blossoms stamp, which she picked.
I know she likes simple cards, so I took my inspiration from this bottle of perfume, which I have always thought was gorgeous:


(This is Flower by Kenzo, by the way)

Anyway, this is the card born from that image:


Creating this card was an absolute joy! First of all, I inked the poppies in Barn Door distress ink. Then I cut them out, and created shadows using Aged Mahogany. Next, I stamped the image onto white cardstock, coloured the stems with a Copic marker, and adhered the flower heads.
Cut the completed image out in a strip, distress lightly using more Aged Mahogany, stamp the sentiment on your base, and adhere the final panel.
Simple!

I added some white ribbon to give the illusion of a bouquet (my aunty likes bouquets), and it gives a nice, crisp but elegant finish.

I really like this one!

Look out for another card coming up later in the week which also uses the Delicate Blossoms stamp, but based on a different source of inspiration, giving it a much more vintage look.

Thanks for looking! :)