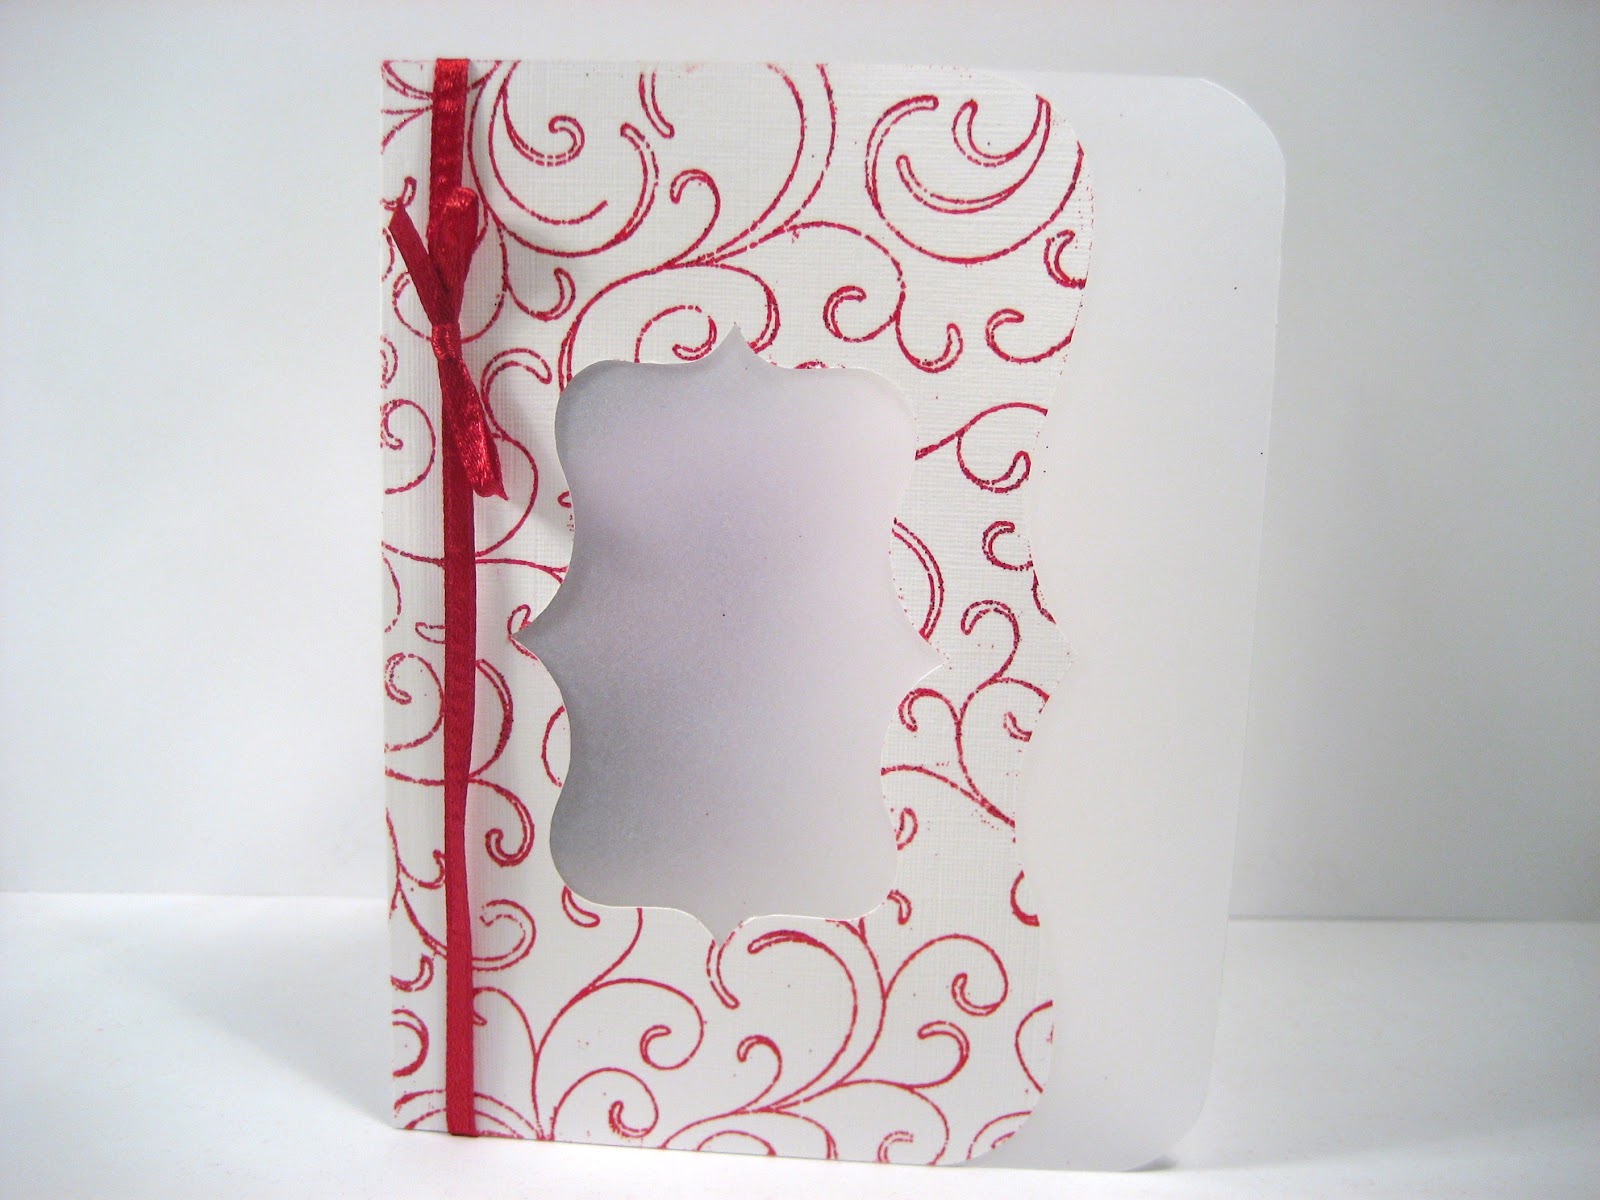
Sunday, 16 January 2011

The one you've all been waiting for... (drumroll, please!)

Hi everyone,

Okay, well I can finally reveal what I've been working on these last few months: the much-spoken about wedding invitations!!!
I handed them over late this week, and they're being distributed (possibly) as we speak!

Here is the overall effect:


The card is made up of the following elements:


Front
Close-up of the embossed detail


Inside - An inner pocket to hold the details-tag


A (very poor) image of the tag with the info blurred out (I'll see if I can post a better one soon)


A close-up of the sentiment, which can be seen through the vellum panel on the front of the card


The envelope


And a picture of the complete invitation


Phew! So there it is. What do you think?

That's it for today - I've got the dreaded cold that's been going round, so I'll be resting up a bit this week!
I may have some extra time for crafting, though...

Until next time :)

Thursday, 6 January 2011

Butterflies again!

Hi everyone,

Thanks for being patient with me while I had a busy December, making - and FINISHING!!! - the wedding invitations!

I'll post a picture of the finished product once they've been sent out by the bride and groom, but after the hours of blood, sweat and (real) tears, they look pretty great :)

Another reason I haven't been able to post is that I've been busy updating my site. You may have noticed that my site address is now: www.natashablackburn.com, and I've added a few new features to the site including a 'contact me' page.
I will also soon be linking my Etsy shop to the site, so that anyone interested in purchasing my cards will be able to do so.

Okay! So my card for this week features more butterflies; I just love them! Here it is below:


A close-up of the sentiment:


And one of the cutie flutterbies:

(You may notice these butterflies are slightly different to the ones on the original card - I made a few to sell, and didn't realise I'd punched some of them with the writing upside-down! But I wanted to show you all that I could use sentiments other than 'thank you' and 'thinking of you', so I posted this one!)

Pretty easy one to make - I just stamped the Hero Arts 'Friend Definition' stamp on some linen cardstock, and punched the butterflies using the Martha Stewart 'Royal Butterfly' punch. Then I cut some kraft cardstock, distressed the edges with Vintage Photo distress ink, and adhered the butterflies using glue-dots. I used 2mm 3D squares to stick that part down, and finally distressed the main card with Antique Linen distress ink.

Oh, and do you like my new way of photographing cards? I took a leaf out of Kristina Werner's book - or rather, a suggestion from her site - here.

Well, that's enough from me - I've just got some of the new Hero Arts 2011 stamps, so I'm looking forward to playing with them!

Enjoy! :)

Monday, 13 December 2010

Fastest fingers first...

Hey everyone,

Sorry again for the delays in postings. Well, the bride-to-be has picked out the design she likes best, for the wedding invitations, and so - with the help of my very kind and patient friend Ana - we've made a good dent in the cards! And the bride-to-be came over the other day and was taught how to emboss; she loved it! And in this case, many hands really DO make light work!

So we're getting there - I'll post a picture once the invites go out.

Well... today my friend Alessia came over to make some cards and she made - wait for it - eleven cards in 2.5hours.
Yes. ELEVEN.

So I thought, if she can do it, so can I!!!

It took me 10 minutes to make this; here's what I came up with:


Really clean and simple with just a few elements - it takes just a few minutes and still looks rather nice :)

The thing that took the longest was tying that piece of string! I tried (in vain) to tie a bow, but the string just WOULD NOT listen (which is annoying, because I'd just made the same card with a bow for Alessia!). So I tied a knot instead.

Supplies:
Cardstock: Linen (The Papermill); Patterned (K&Co's Mega-stack)
Greeting: From a Hero Arts sayings collection (lost the packaging!), Aged Mahogony distress ink
Tools: String; Martha Stewart Royal Butterfly punch; Fiskar's scallopped edge punch


I would like to enter this card into the following challenges:

1. Caardvarks: Monochromatic
2. CardPatterns: Sketch 94

Wednesday, 1 December 2010

Welcome Home!

Hi everyone,

I know I'm pretty much a once-a-week blogger but I saw this gorgeous digi-stamp from 'DigiSparkle.com' and just HAD to make something with it!
And this stamp is FREE for the month of December!

Let me just tell you little bit about DigiSparkle before I continue - they are a lovely digi-stamp company that sell SETS of digi-stamps for just £0.99 (around $1.49).
There are some really cute stamps, and they have a wonderful points-reward scheme, where you can redeem the points you earn on your purchases, on even more stamps!
And the stamps are great value - as I said, you receive a whole set for £0.99.
Each month there are new releases, and there is also a free stamp every month. And I received a voucher a couple of months ago as a 'thank you' for being a valued customer, which I spent on some more pretty stamps!!! ;-D

One last thing - you get a lovely personalised service, and Heather, who owns the site and whose illustrations make up the stamps, is very nice too!

So go check out the site (check out their blinkie on the right-hand-side of my page).

Okay, so... back to my card. Here it is:


And may I just say how LOOOOOOOOOONG it took me to make this card! Looks clean and simple, right? Well a LOT of thought and effort goes into that look!!!
I was sat there staring at the image and a blank white card-blank for about half an hour.
Yup. Half and hour.

Oh well, got there in the end! And I just LOVE the lace stamp from Hero Arts.

After colouring the image in my Crayolas (and blending some of the colours using a white watercolour pencil, which has a softer lead - that front door is supposed to be a muted grey-colour, you know, like from the Georgian period?), I stamped the sentiment and distressed the bottom part with Antique Linen distress ink.
I tried a spritzing-technique on the bottom of the image, but it didn't quite work as the cardstock I'm using is a linen-texture, and it absorbed the water rather than resisting it. But it looks okay, anyway.

Stamped the Lace stamp in Antique Linen again, and then distressed the outer edges in the same colour - I love the way it reinforces the colour of the stamped image.

I thought this card would be especially great for someone coming out of hospital, but it'd also work as a moving-card.

Well, enjoy!


I would like to enter this card into the following challenges:

1. DigiSparkle - DigiSparkle projects
2. ACLP - Anything Goes
3. Mark's Finest Papers - Bows
4. EBTKS - Textures

Friday, 26 November 2010

New Techniques

Hey everyone,

First of all I'd like to say a big 'thank you' to everyone who reads through my site, though they don't comment. I really appreciate your letting me know - at least I know I'm not talking to myself most of the time ;-)

Okay, so this card was a bit of an experiment. I knew I wanted to make a 'thank you' card for a lovely couple of friends who took us and 5 other friends out for dinner last weekend; what a kind and generous thing to do!

A couple of weeks ago I bought the Tim Holtz Mini-Mister by Ranger, and also some Perfect Pearls powder. I was toying with the idea of adding a tag, and I received the GORGEOUS lace stamp from Hero Arts last week, and wanted to use that too.

Here's what I came up with:


I stamped the HA Lace stamp in Versamark ink, and used a paintbrush to brush the Perfect Pearls over the image. Then I spritzed it with the Mini-Mister to set the powder.
I also used the HA 'Friend Definition' stamp, also stamped in Versamark ink.

The tag was distressed using Tim Holtz Broken China distress ink, and then embossed.

The colouring was done using my old favourites - Crayola colouring pencils (I know some of you have to cover your eyes at this point ;-D ); I'm still trying to find a cost-effective alternative!

And I mustn't forget to mention where the little mixing-bowl and utensils came from - the 'What's Cooking?' stamp set, also from Hero Arts.

These must be my 3 favourite stamps/sets EVER!


A close-up of the sentiment (I apologise for the blurring) - I cut the tag out using my Silhouette machine, and threaded it through the 5mm ribbon (I think that's about 1/4inch).

Hope you like it, and thanks for looking!

Have a lovely day!


(If anyone would like a list of supplies, please post a comment and I will edit this post - I'm not next to my crafting table at the moment.)

I'd like to enter this card into the following challenges:

1. Paper Pretties: Clean and Simple
2. Sentimental Sundays: Thanks

Tuesday, 9 November 2010

Gorgeous Doilies

Hi everyone,

Here's my card for this week. Now, I can't take credit for this one really; I saw one very similar on Brit Swiderski's BEAUTIFUL blog, which you can see here, and wondered whether I could make something similar on my Silhouette machine.

So I dug out my ballpoint pen-attachment, and look at the results! I think they're pretty cool:


I admit that the 'biro' look isn't amazing; I'll have to try a felt tip or brush pen next time. But for a first attempt and to try something new, it turned out okay!

Again, I took a picture to try and show the layers, but I just can't get my camera to focus! So sorry about that.

As you can see this card is pretty simple; just 'draw', cut and stick with the doilies, and I couldn't miss out my much-loved faux stitching!

For the sentiment strip, I used the same blue cardstock as the background, and inked it up with distress inks; it's such a gorgeous effect! I know I'm going to have loads of fun with these, now that I've bought my very own ink-blending tool! Yay!

Have a lovely day and thanks for stopping by!


SUPPLIES:
Cardstock: White Linen card from the Papermill; Kraft, Blue - both from my stash
Ink: Vintage Photo Distress ink; Chesnut Roan Colorbox chalk ink
Stamp:  Sentiment from Fiskars 'Latte Love' set
Tools/Misc: Silhouette machine; Ink blending tool from Ranger; White gel pen; a trusty Bic biro!


I would like to enter this card into the following challenges:

1. Dutch Dare Card Challenges: Clean and Simple

Monday, 1 November 2010

Lovebirds

Hi everyone,

I'm sorry it's so long between posts at the moment; I keep wanting to craft and blog but life keeps getting in the way :)

Well, two of my friends are getting married (to each other!) - they got engaged a couple of weekends ago. So I made them this card:


I cut out the card template, birds, trees and hearts using my new digital cutter. I adhered the card on to vellum, cut the insert from vellum, and then glued it to the front. I used my white gel pen for the faux-stitching that outlines the elegant shape.


You can see the velum better in this side-view:


The lettering was also cut using the die-cutter; it was painstakingly difficult adhering those to the vellum, but it was worth it; my friends loved it so much they asked me to do their WEDDING INVITATIONS!!!


EEK!!!!!!!!!!!!!!!!!!


I am freaking out very slightly... I have a couple of ideas, but not sure at all whether the bride-to-be will like them...
So if anyone has any ideas for wedding-invites, or knows of any sketches that could be of use, I'd love for you to post a comment and let me know!

Thank you!

SUPPLIES:

Cardstock: Blue; White; Brown; Turquoise - all from my stash. Pink cardstock from the huge K&Co stack. Vellum
Stamping: Hero Arts Dots cling stamp; Versamark ink
Extras: Pink satin ribbon; 3D foam adhesive squares; White gel pen
Silhouette dies: "2 Love Birds" (Lori Whitlock); 6-card kit Elegant (Lori Whitlock); LD Blankie font


I would like to enter this card into the following challenges:

1. EBTKS - Challenge #26, Colour challenge
2. Wee Memories - Challenge #29, Anything Goes
3. Cute Card Thursday - So Transparent!